Creating a VPC in AWS with public and private subnets.
Today I passed the solution architect associate certification (AWS-ASA), this
morning (before the test) I wanted to cement in my mind how to build a VPC in AWS before the exam. I went through and recorded the steps it took for me to do so, this is by no means
the best way to do it, simply the way I did it. In part 2 we will add ec2 instances and test the configuration, but today is solely about building out a VPC.
These are the tools I used:
- AWS account (i did this in the Mumbai region)
- Windows 10 OS (desktop)
- putty
- puttygen
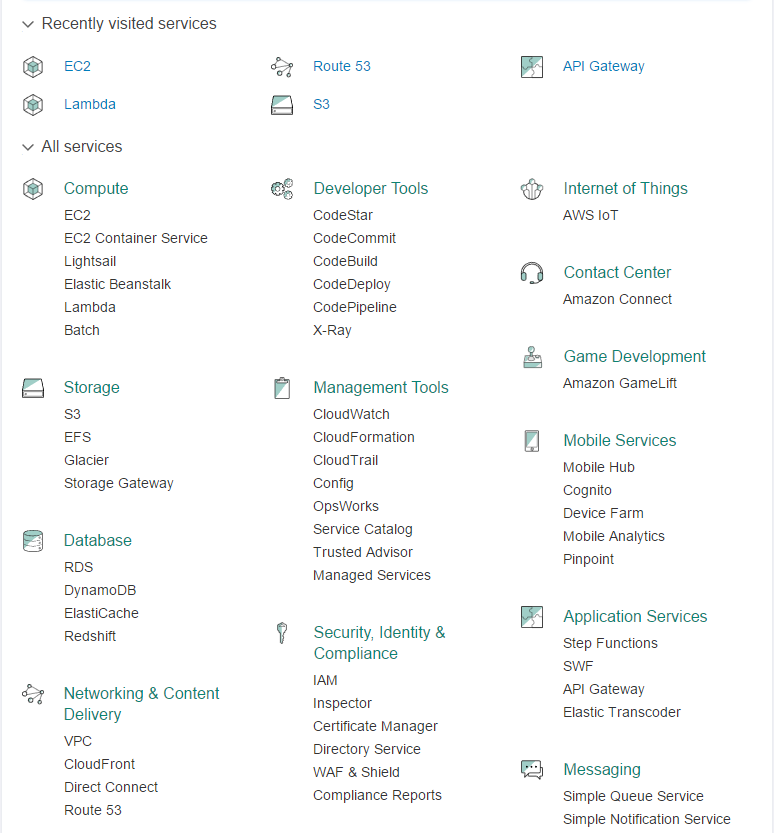
Start by logging in to your AWS account and navigating to the VPC service, (down the bottom) under Networking & Content Delivery.
Once in the VPC console, click the “Your VPC’s” link the left nav bar.
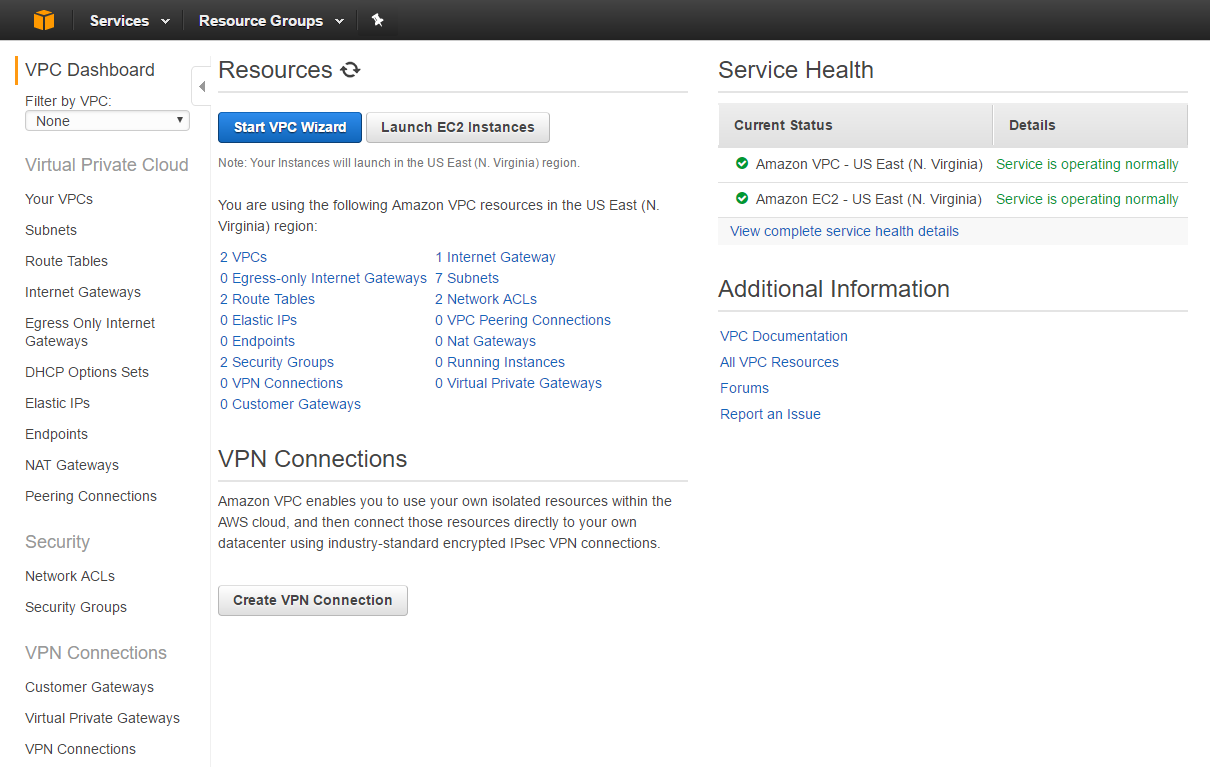
Click the blue “Create VPC button”.
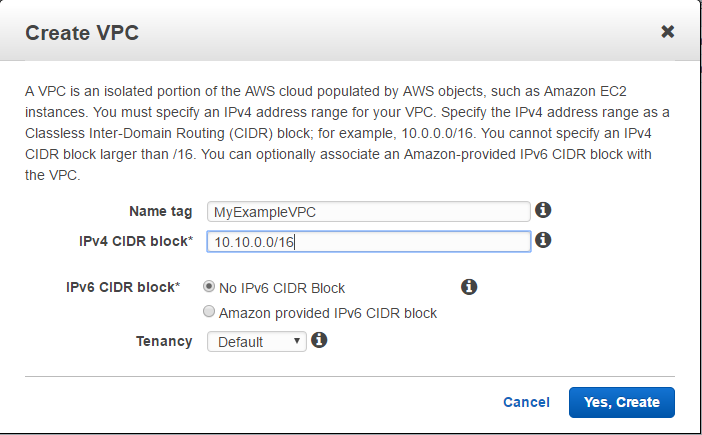
The enter the following details and hit save.
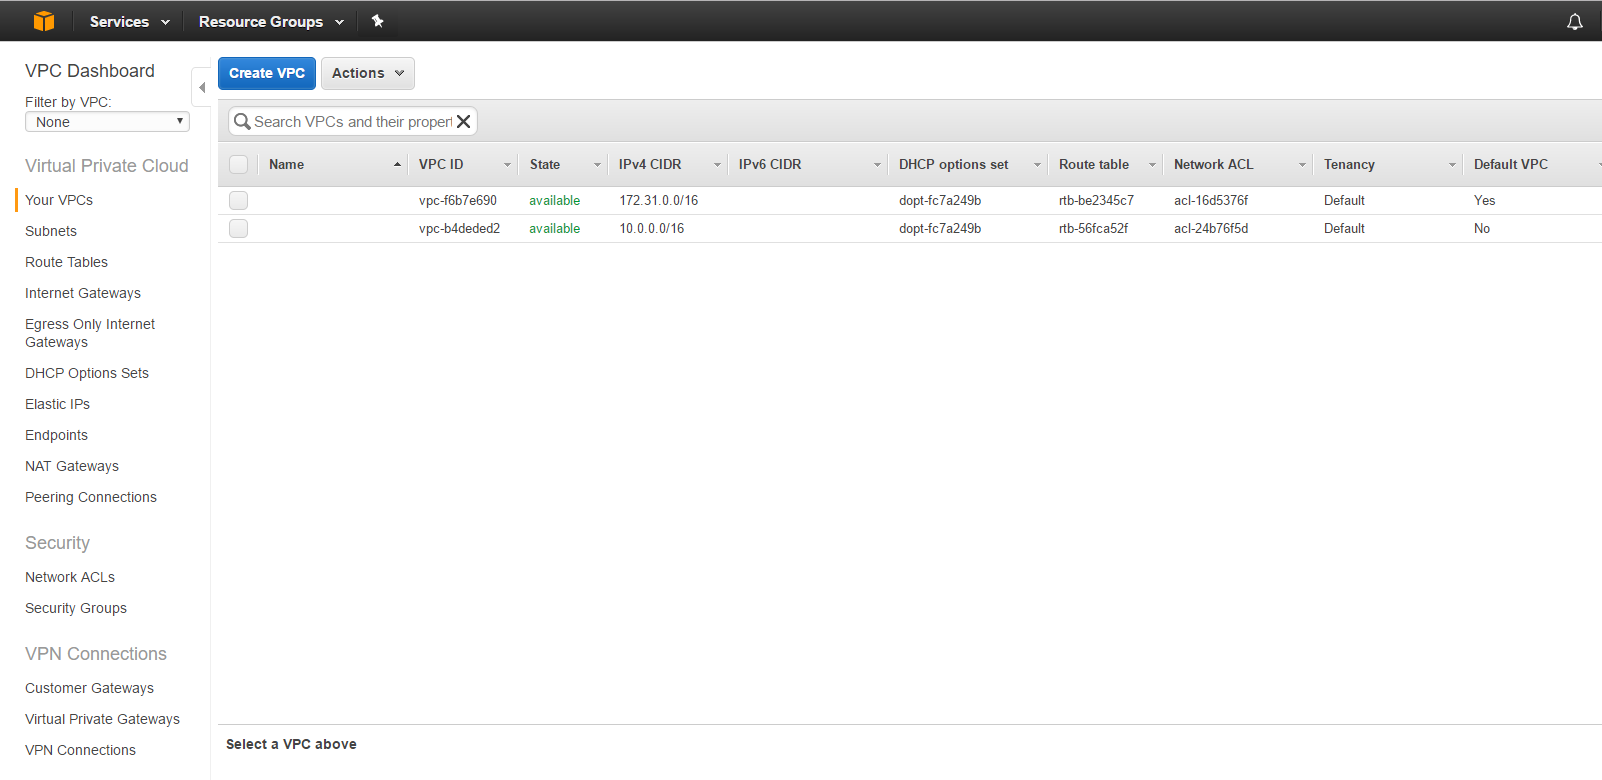
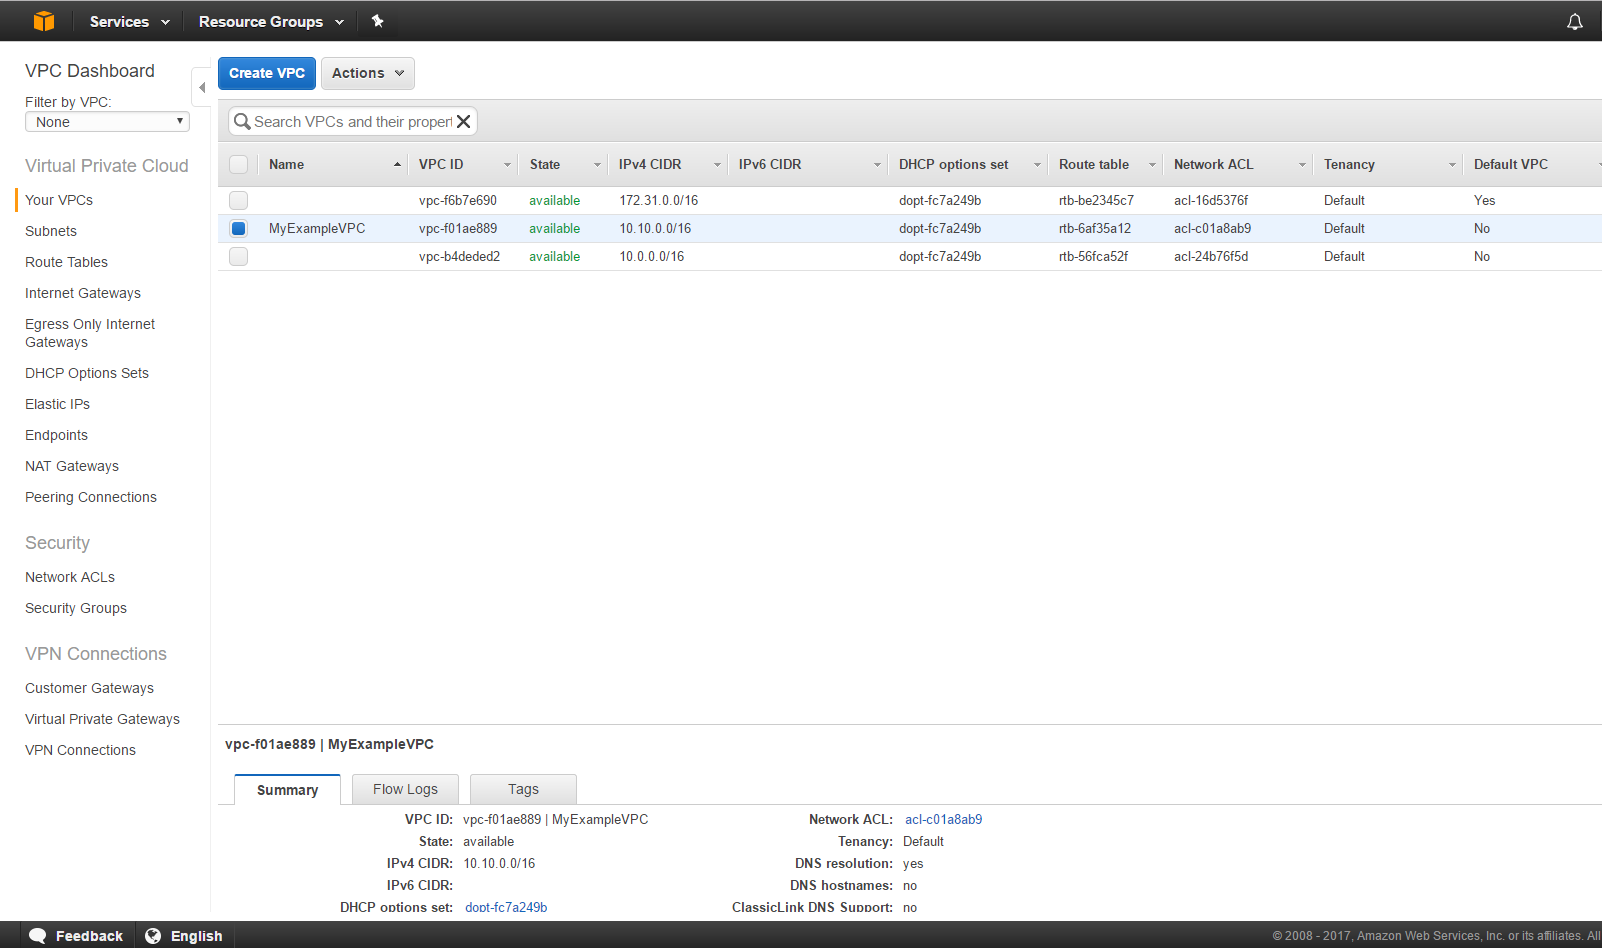
You should then be able to see your new VPC in the console and it should look like the photo below.
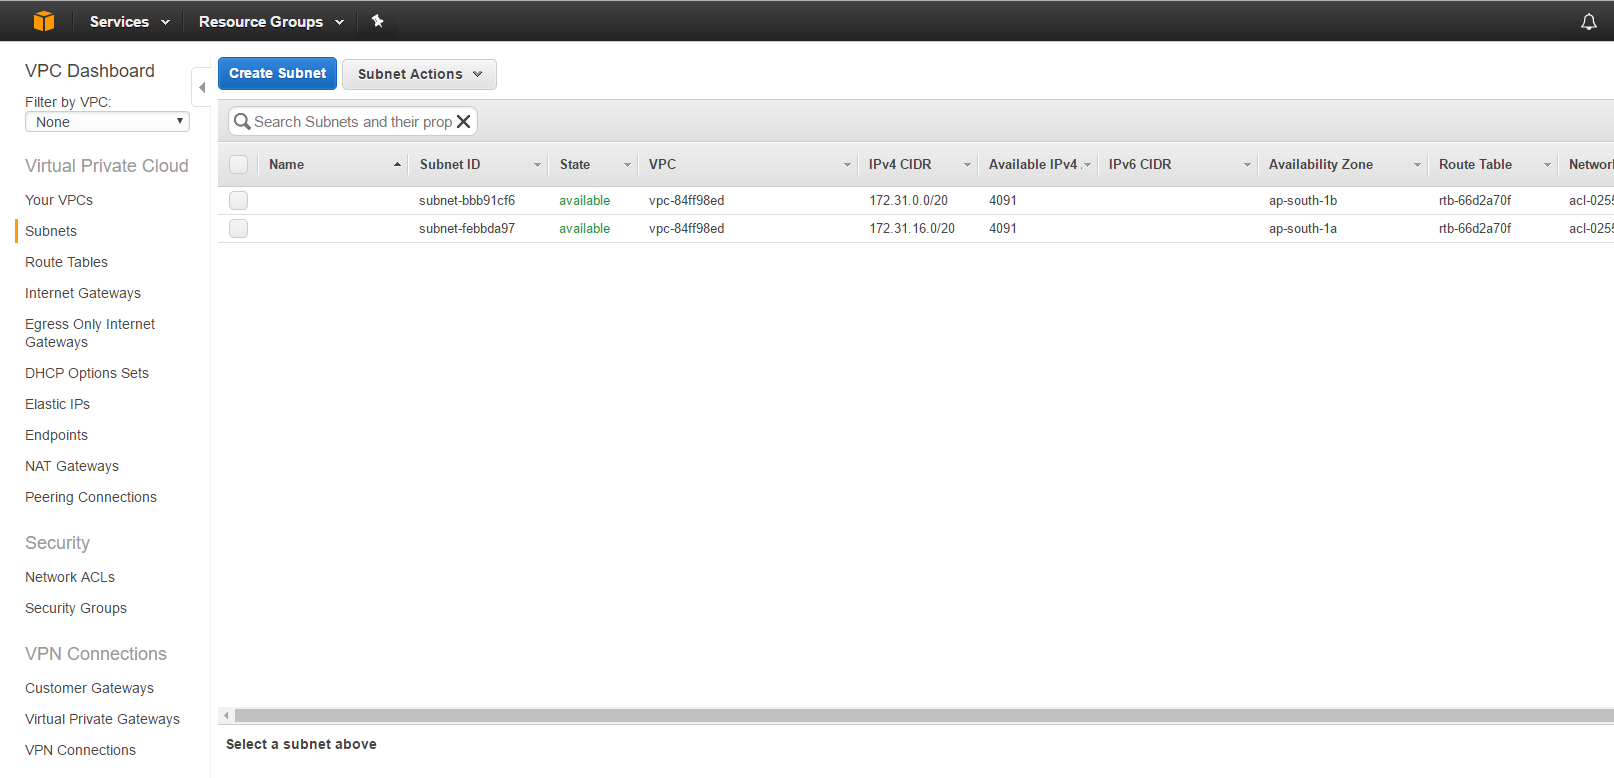
Navigate to the subnet menu in the left nav bar and click the blue button “Create Subnet”.
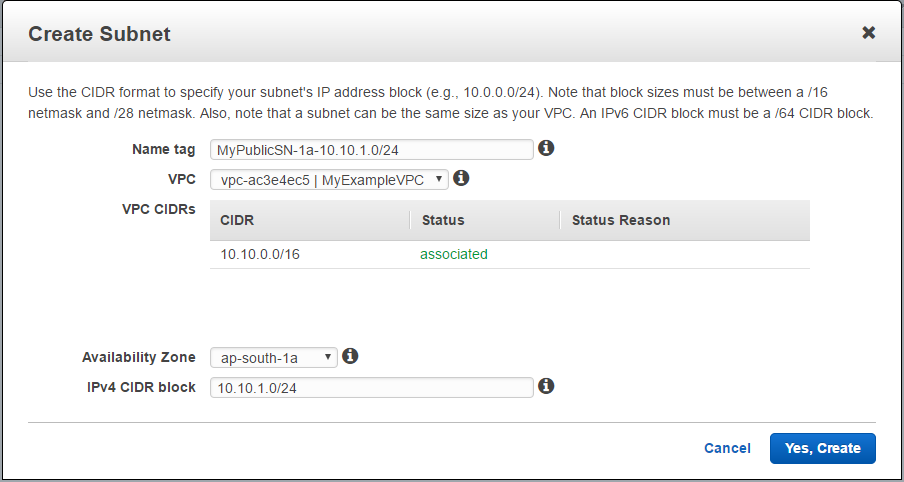
The enter the following details and hit save.
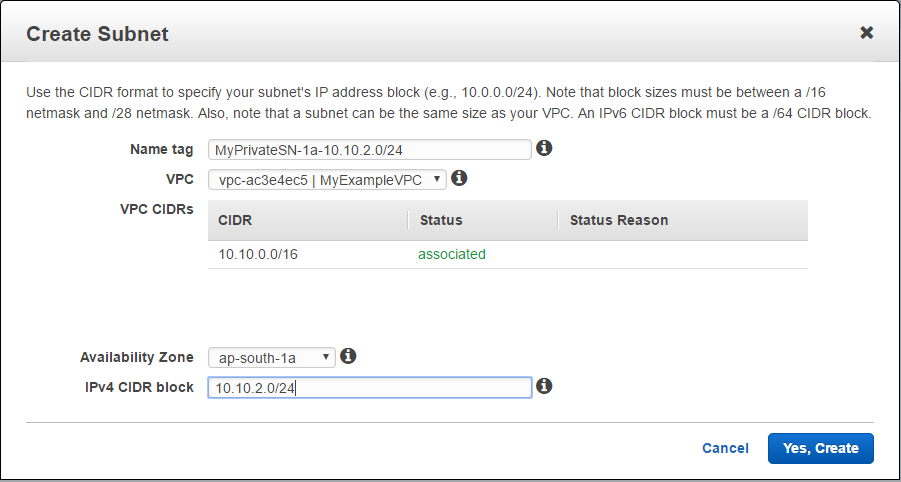
Repeat the above with these new settings for your private subnet.
For HA deployments these steps should be repeated with ip’s 10.10.3.0/24, 10.10.4.0/24 each being within a different Availability Zone. (don’t forget the naming convention for AZ’s as well).
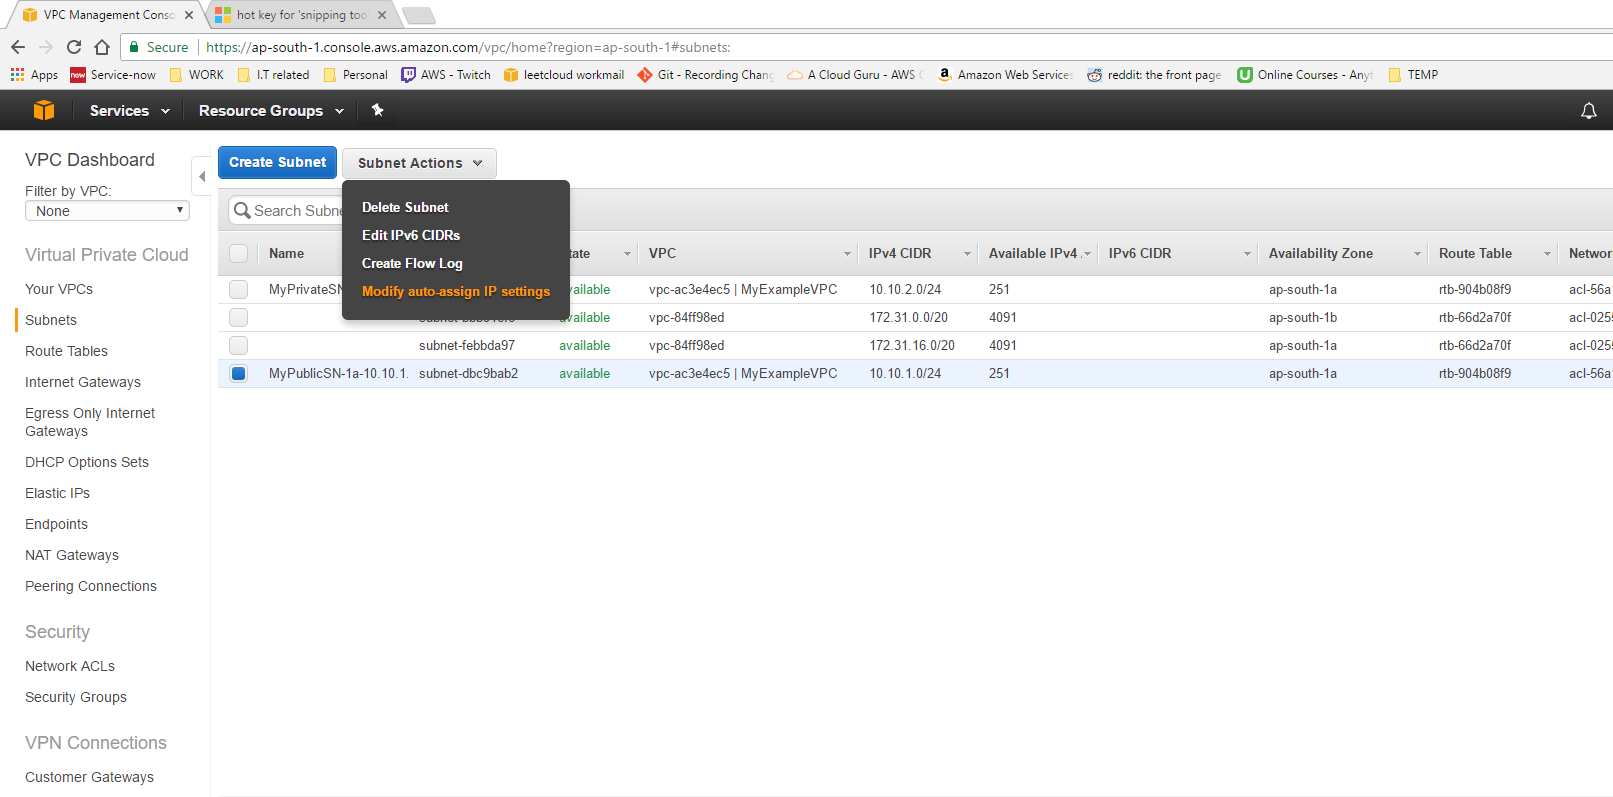
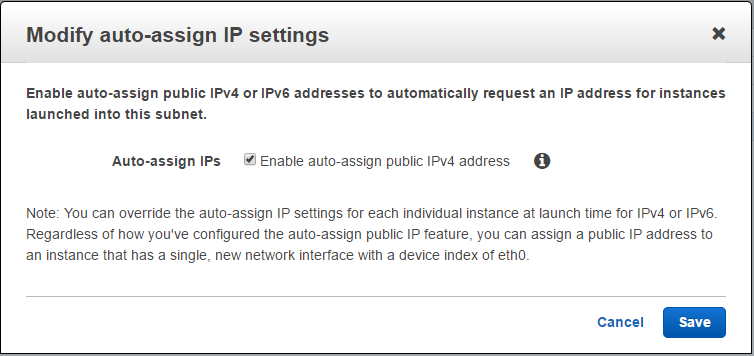
Make sure your “MyPublicSN” subnet is selected, then click Subnet Actions and finally Modify auto-assign IP settings. Click the box to Enable auto-assign and click Save.
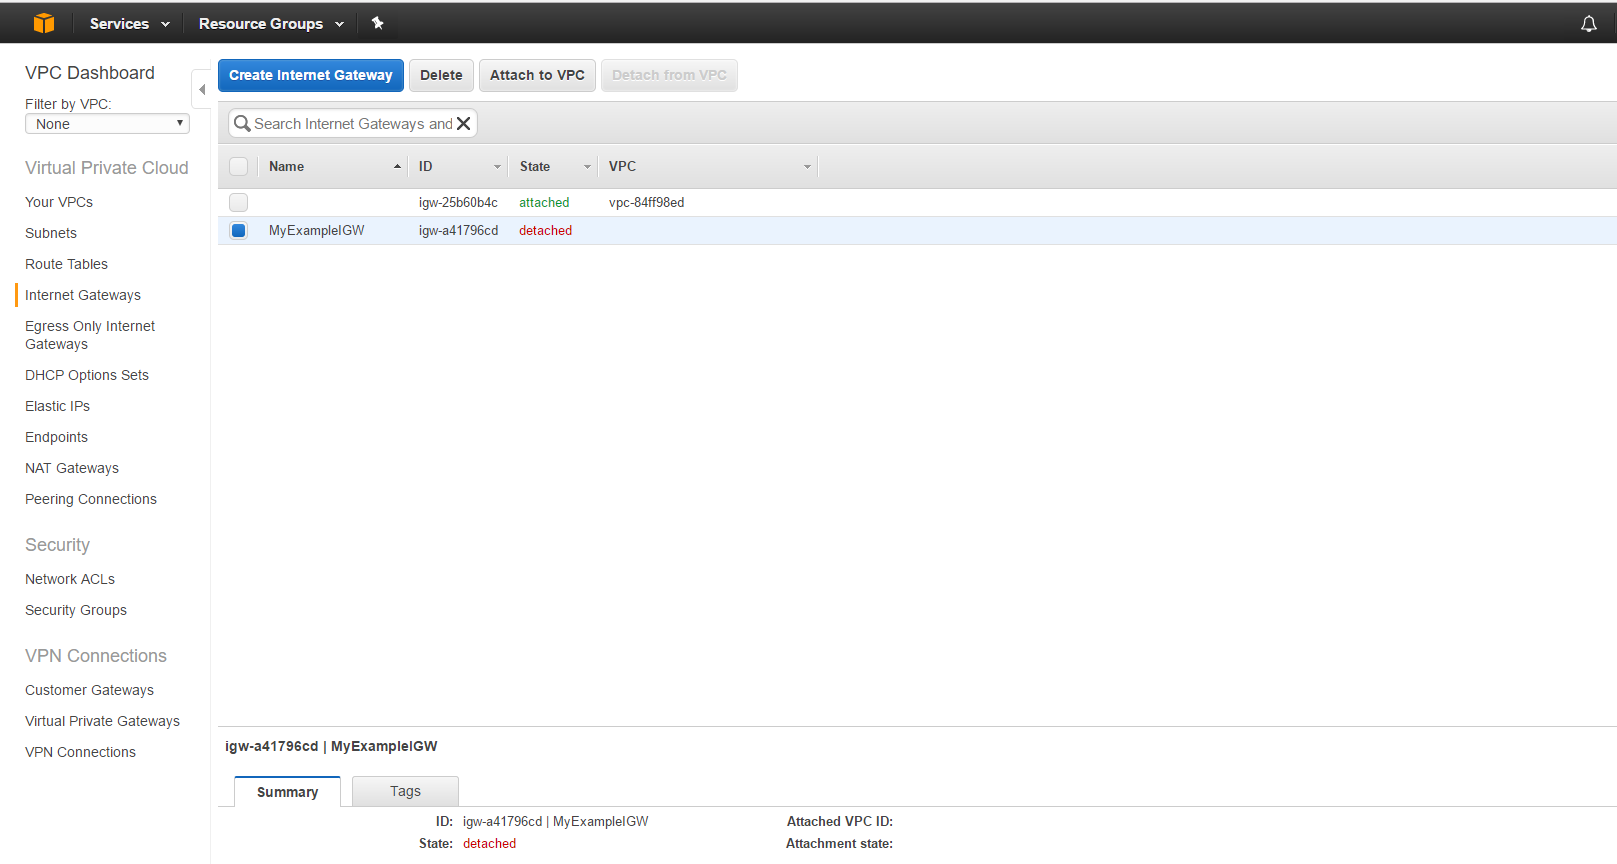
Once you’ve done that head on over to the “Internet Gateways” link in the left nav bar.
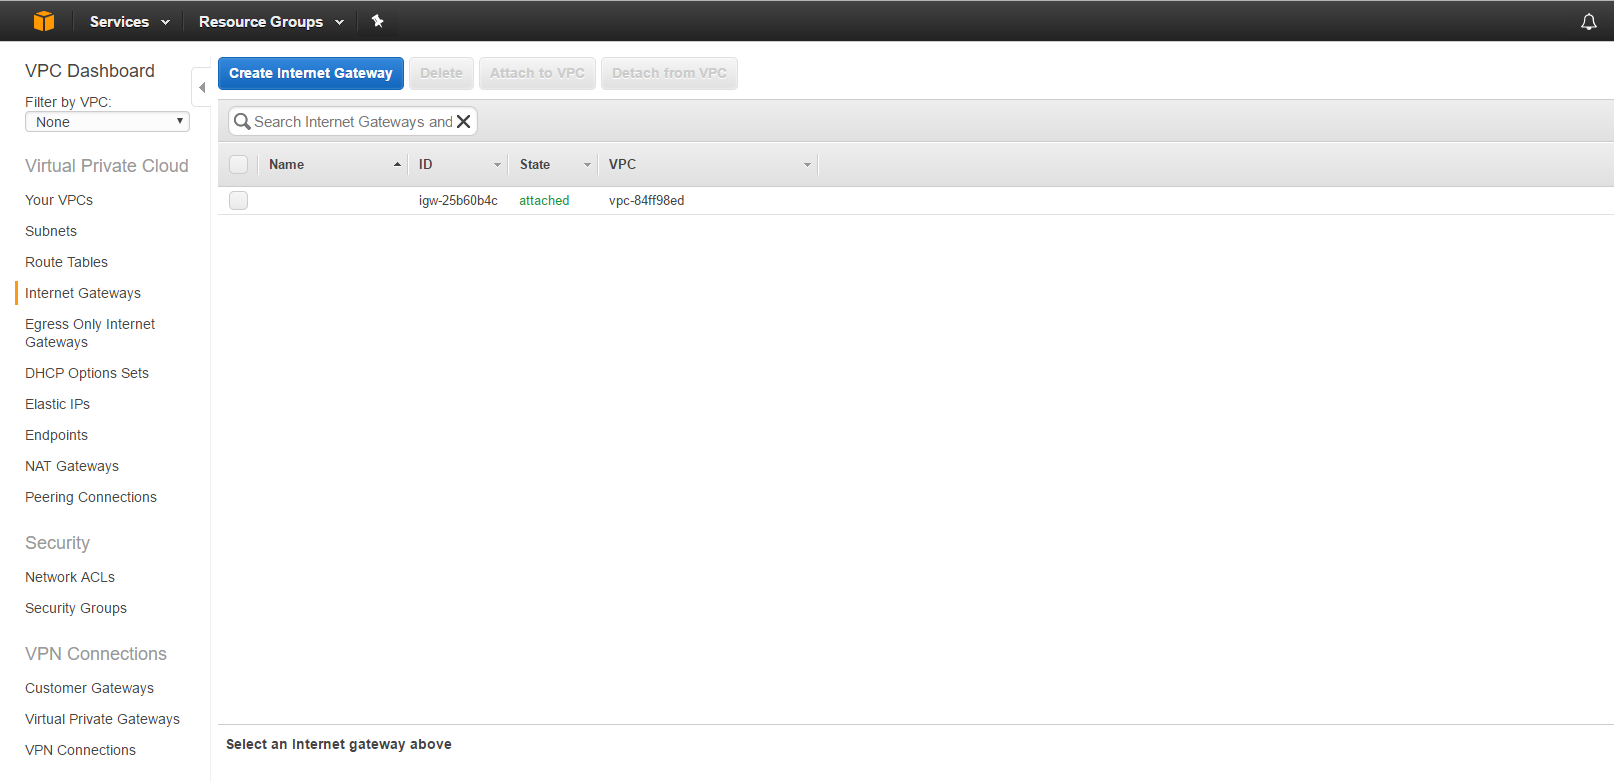
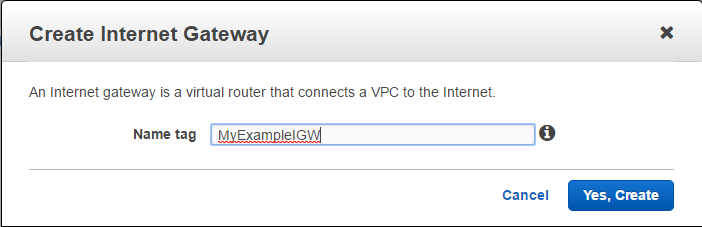
Click the blue “Create Internet Gateway” button. and enter the following details.
You should see your new Internet Gateway (IGW), make sure MyExampleIGW is selected and click “Attach to VPC”.
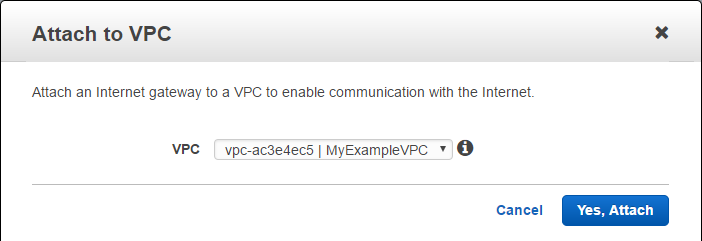
Make sure to select “MyExampleVPC” and click Yes, Attach.
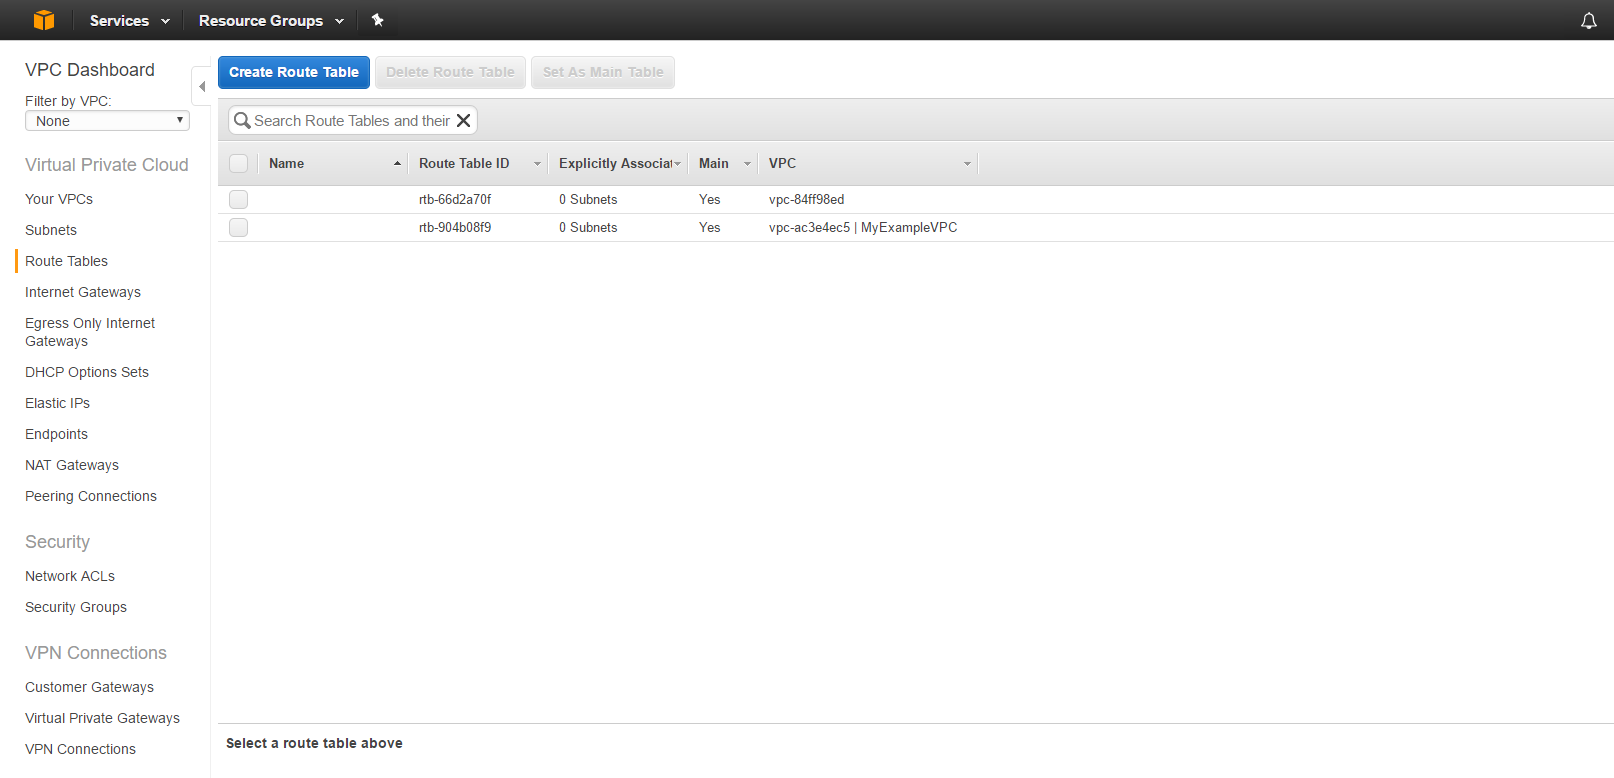
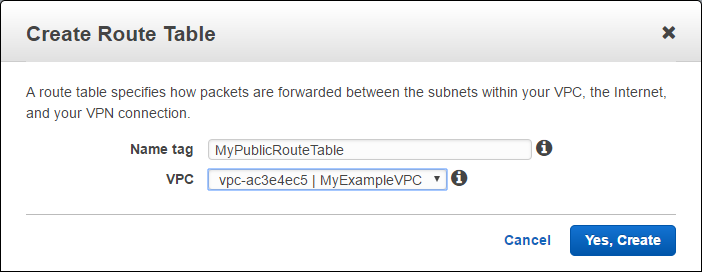
Click on Route Tables in the left nav bar and click the blue “Create Route Table” button.
The enter the following details and hit save.
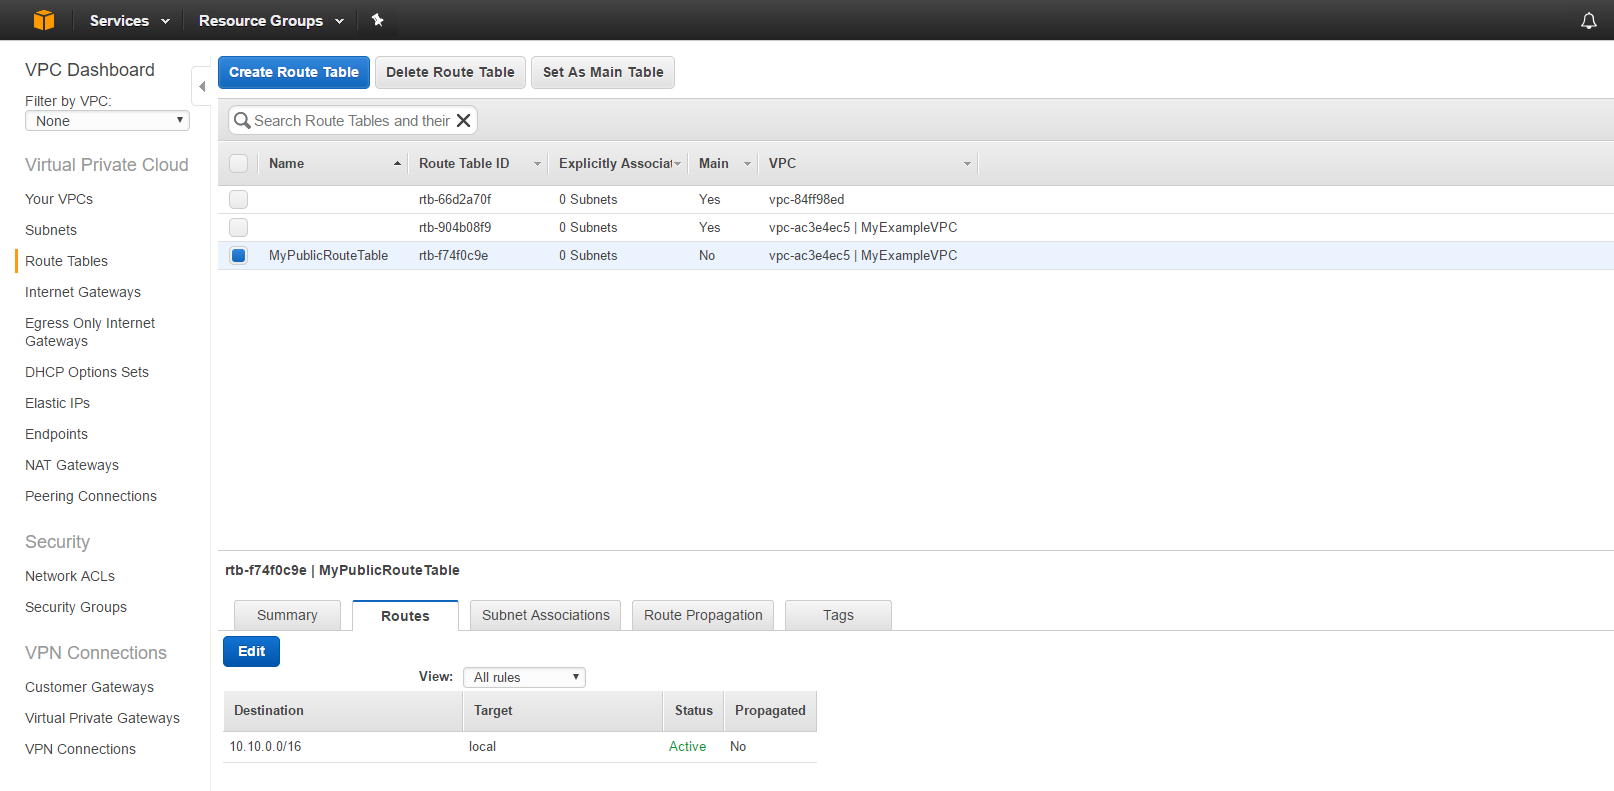
Make sure MyPublicRouteTable is selected and navigate to the Routes tab at the bottom of the centre window and click the blue “Edit” button.
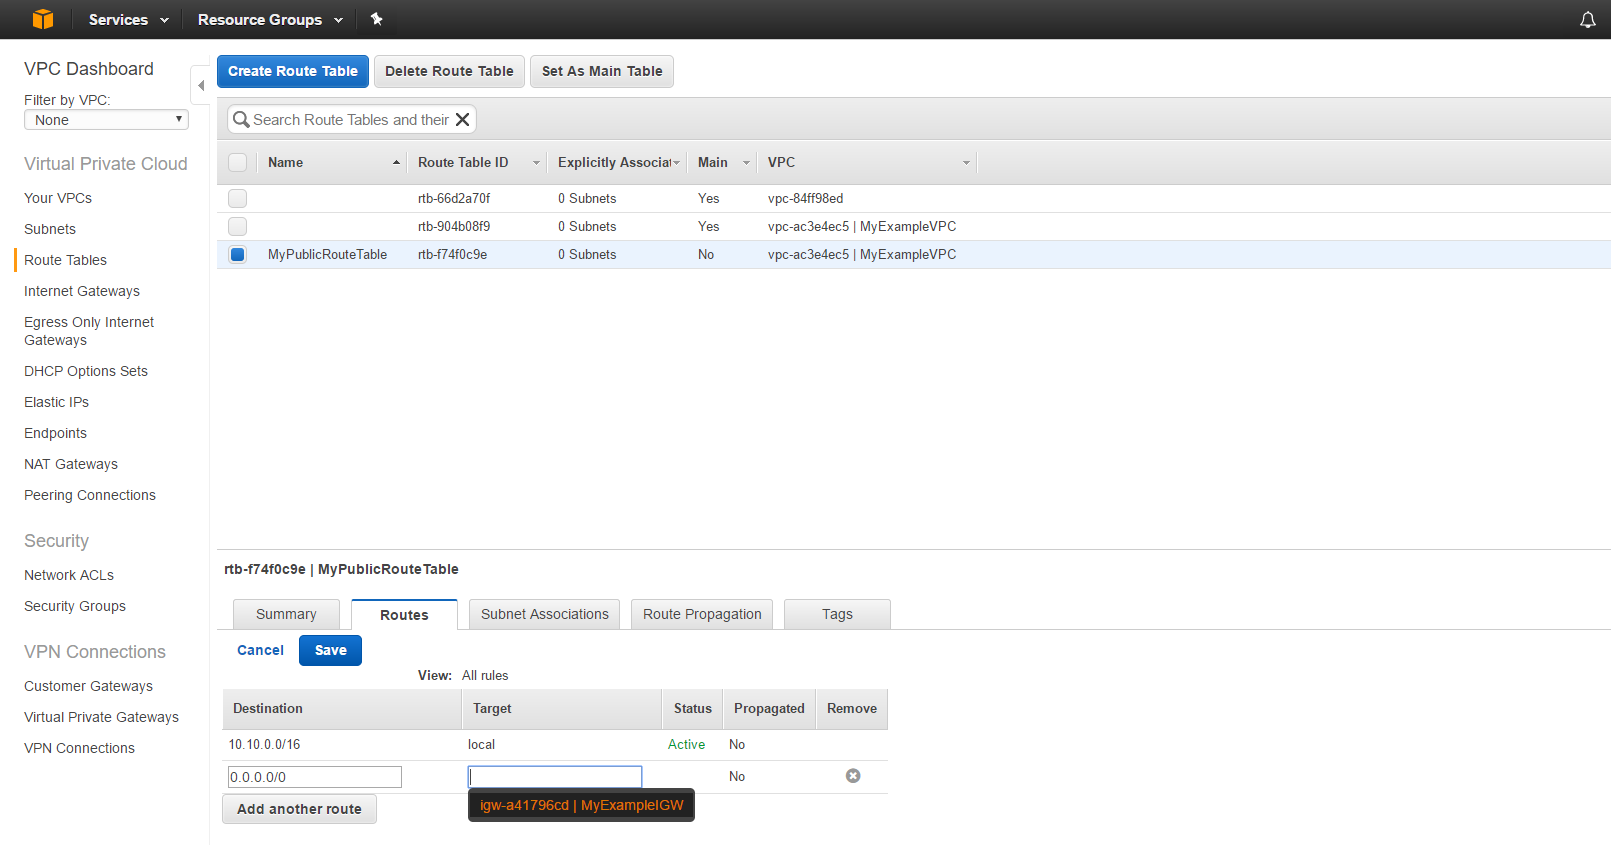
The enter the following details and hit save.
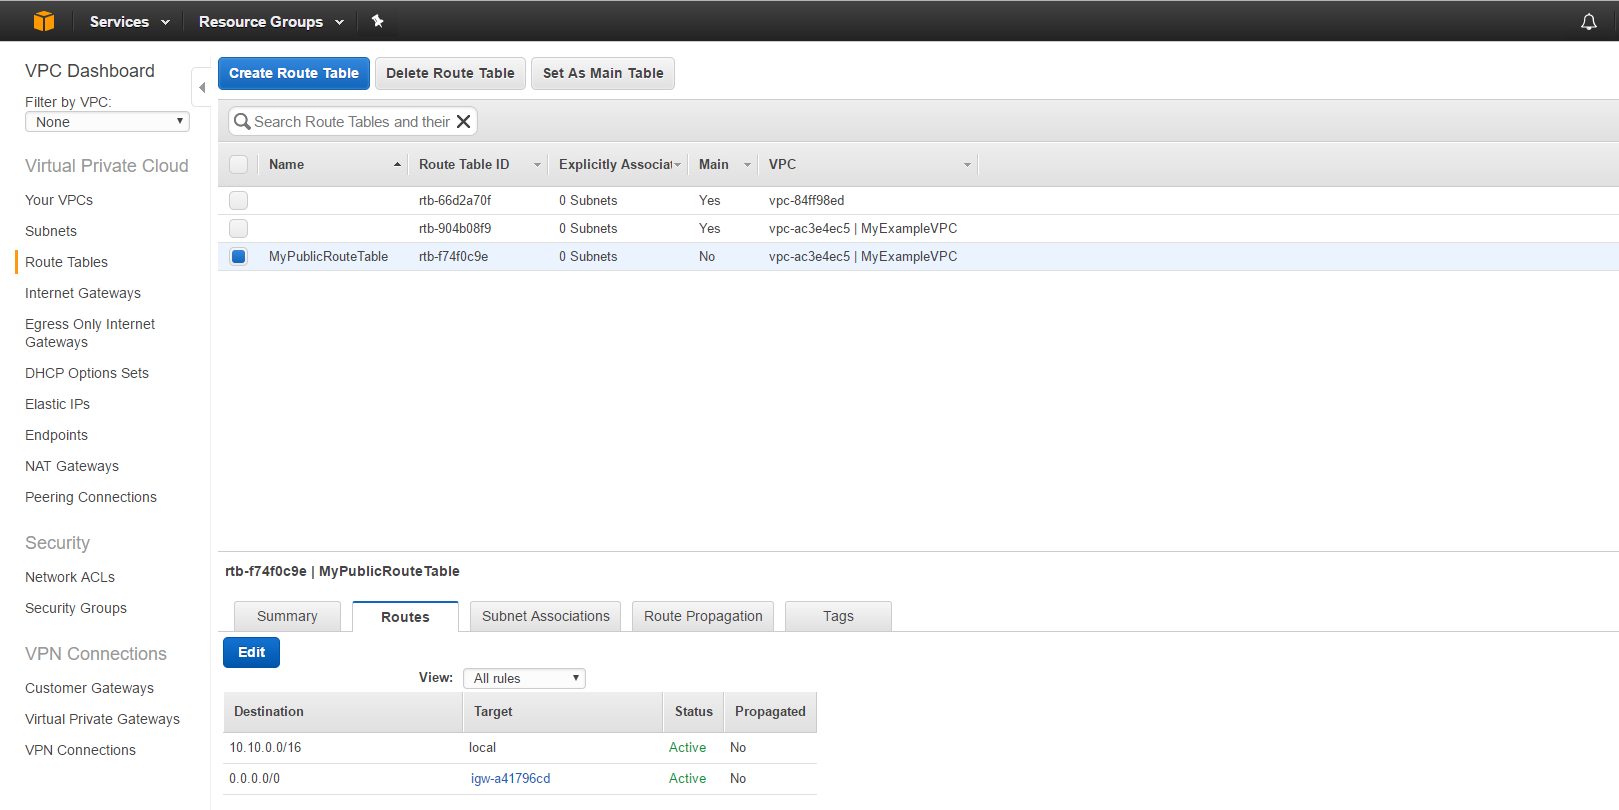
Your routes should look like the below image.
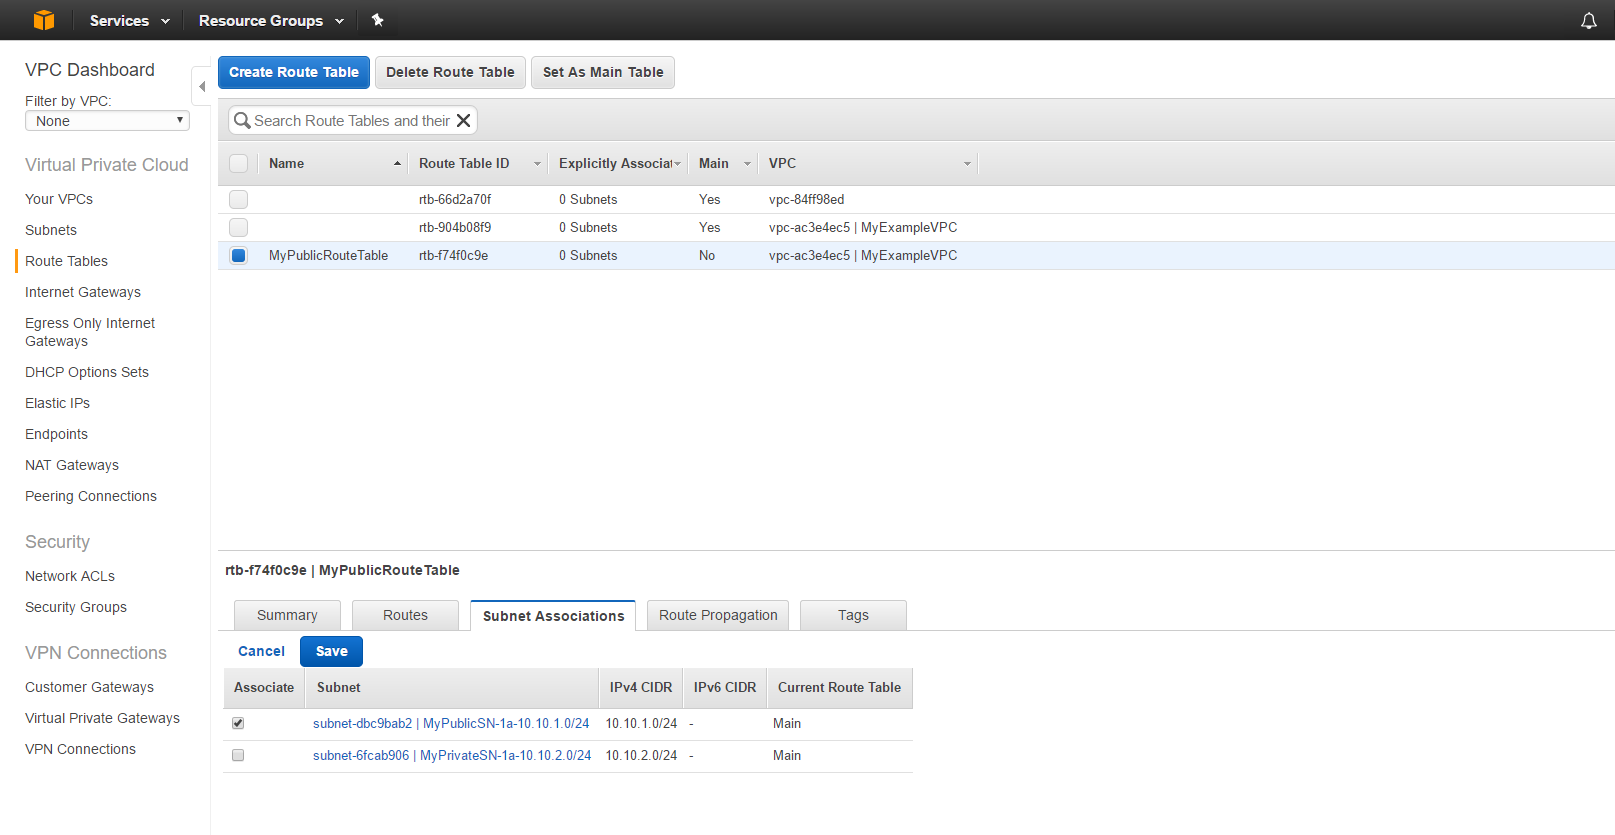
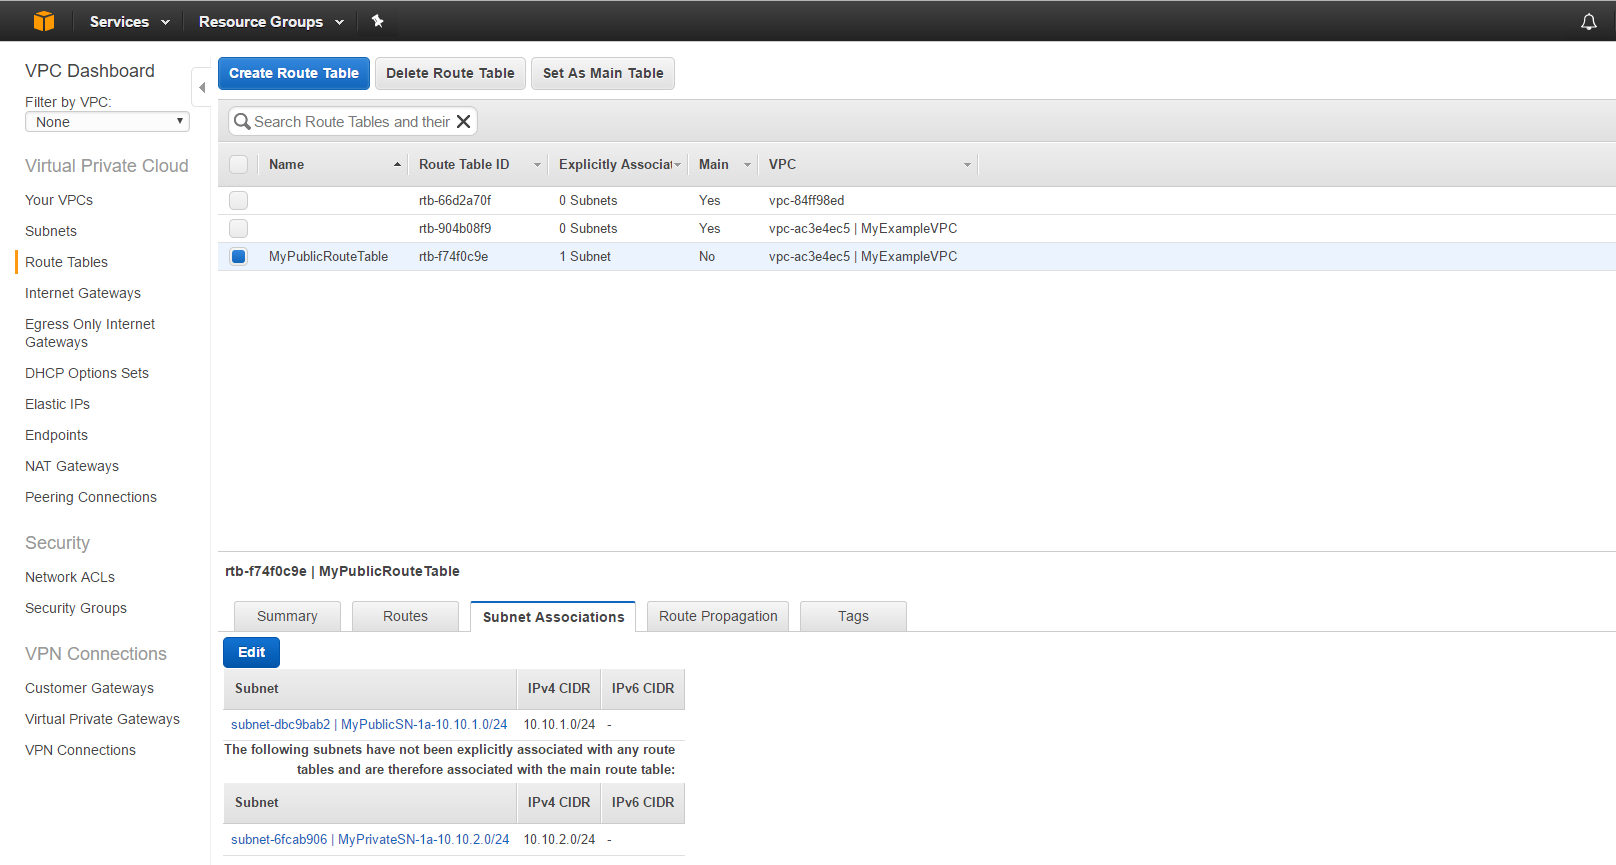
Navigate to the Subnet Associations tab (i actually forgot this part initially and couldn’t understand what I got wrong) Click “Edit”. Associate the Route table with the “MyPublicSN-1a..” subnet by checking the box next to its name and click save.
You should now see the “MyPublicSN-1a..” in the list of associated subnets, as below.
Use the left nav bar to navigate to the security groups section.
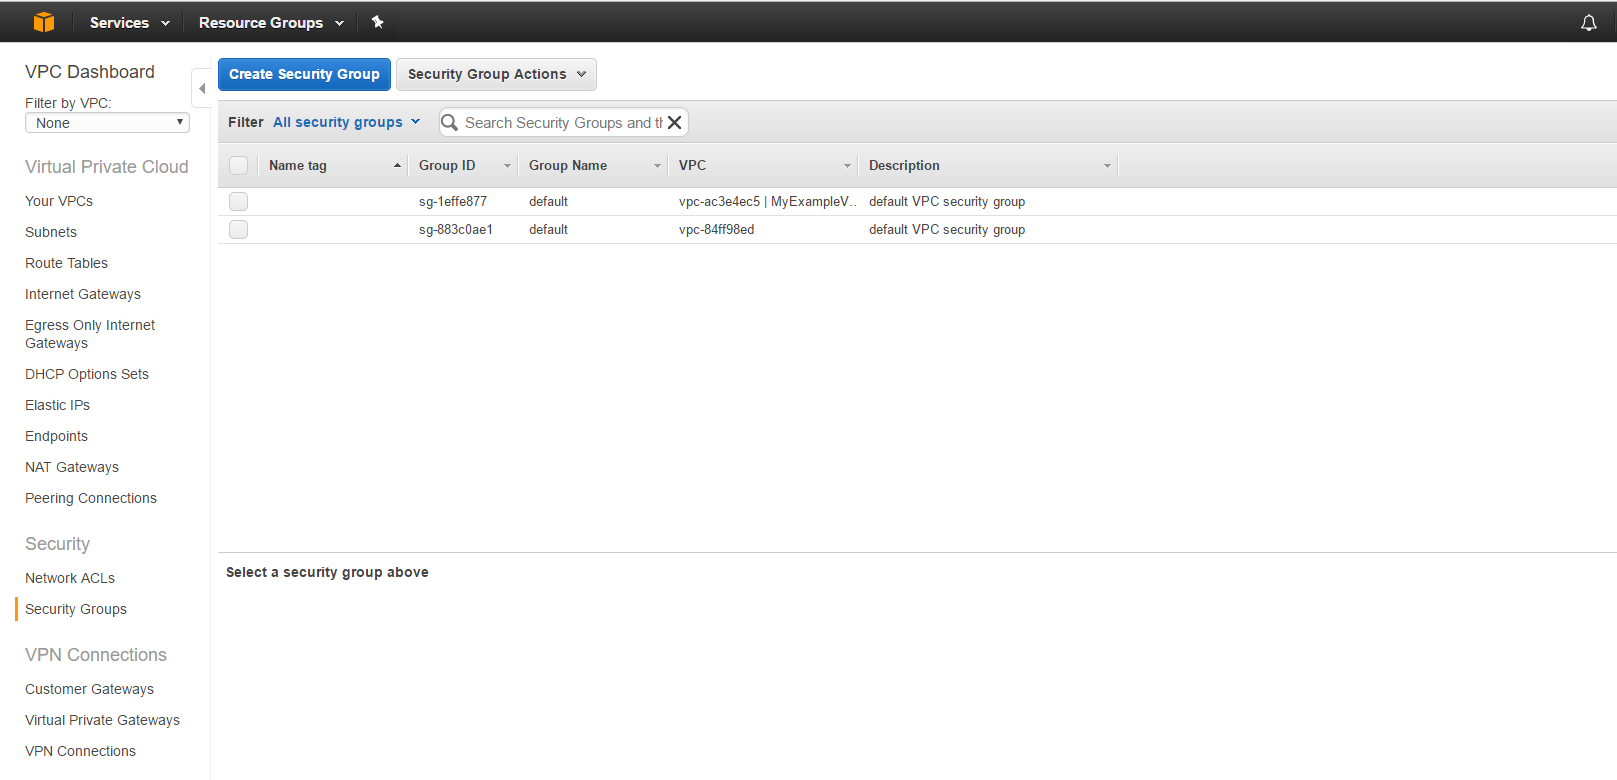
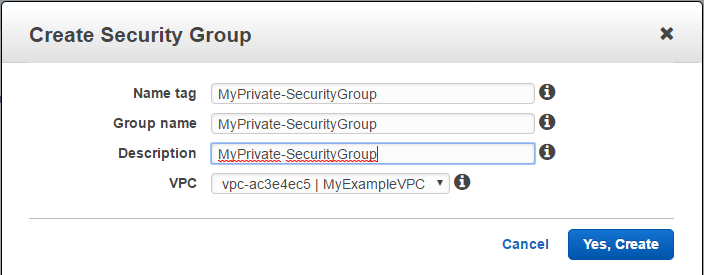
Then click “Create new Security Group” and enter the following details and click save.

Click “Create new Security Group” again and enter the following details and click save.
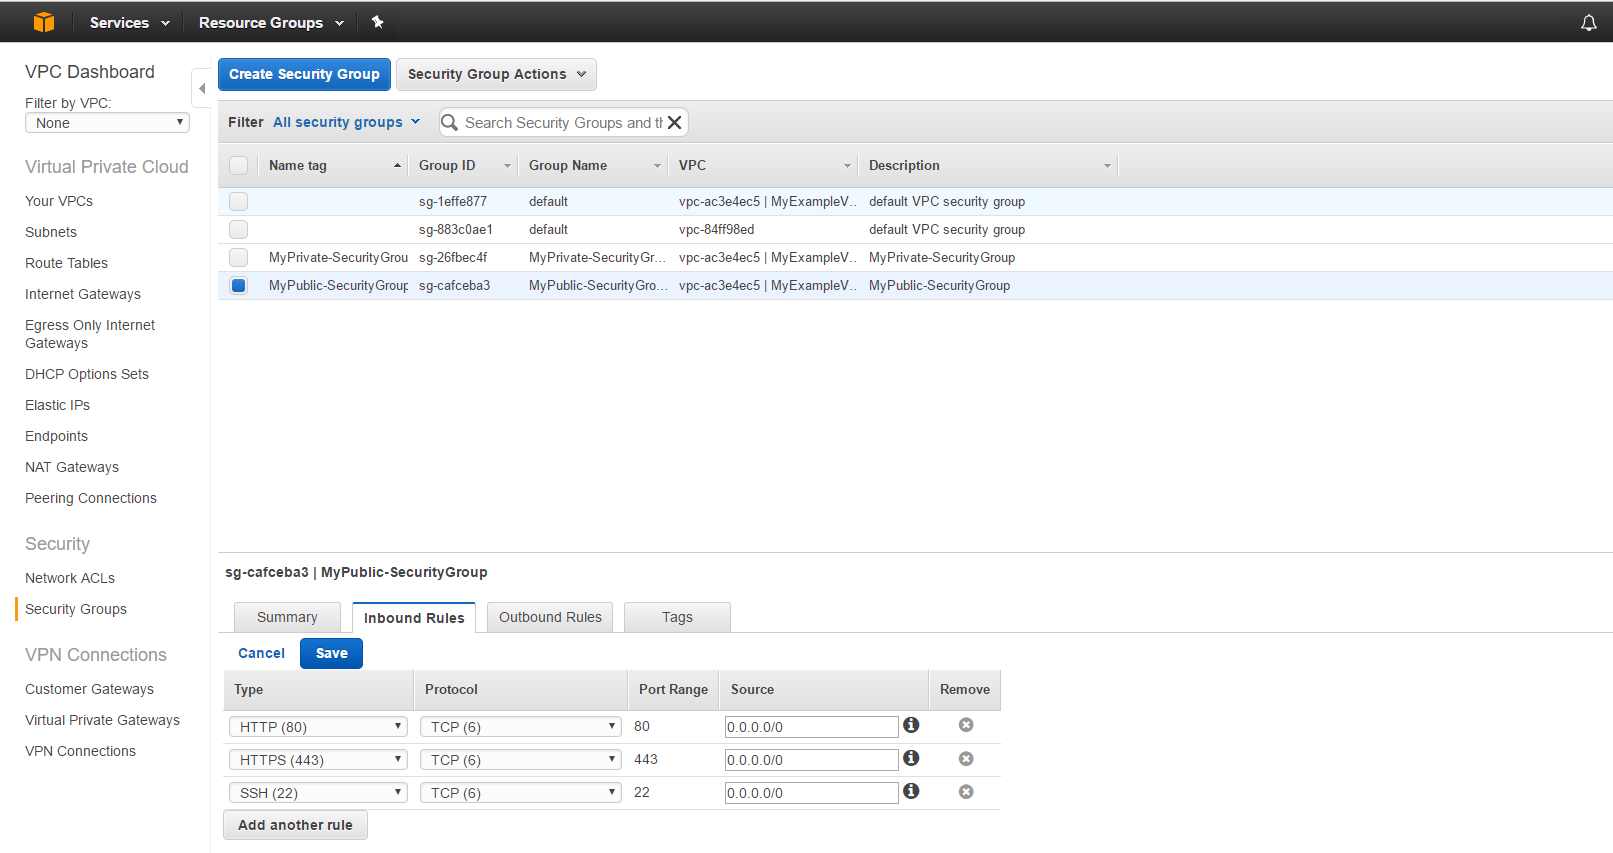
You should now have two security groups as below. Make sure “MyPublic-SecurityGroup” is selected, navigate to the Inbound Rules tab (bottom of the screen) and click the blue edit button.

Enter the rules as shown below and click save.
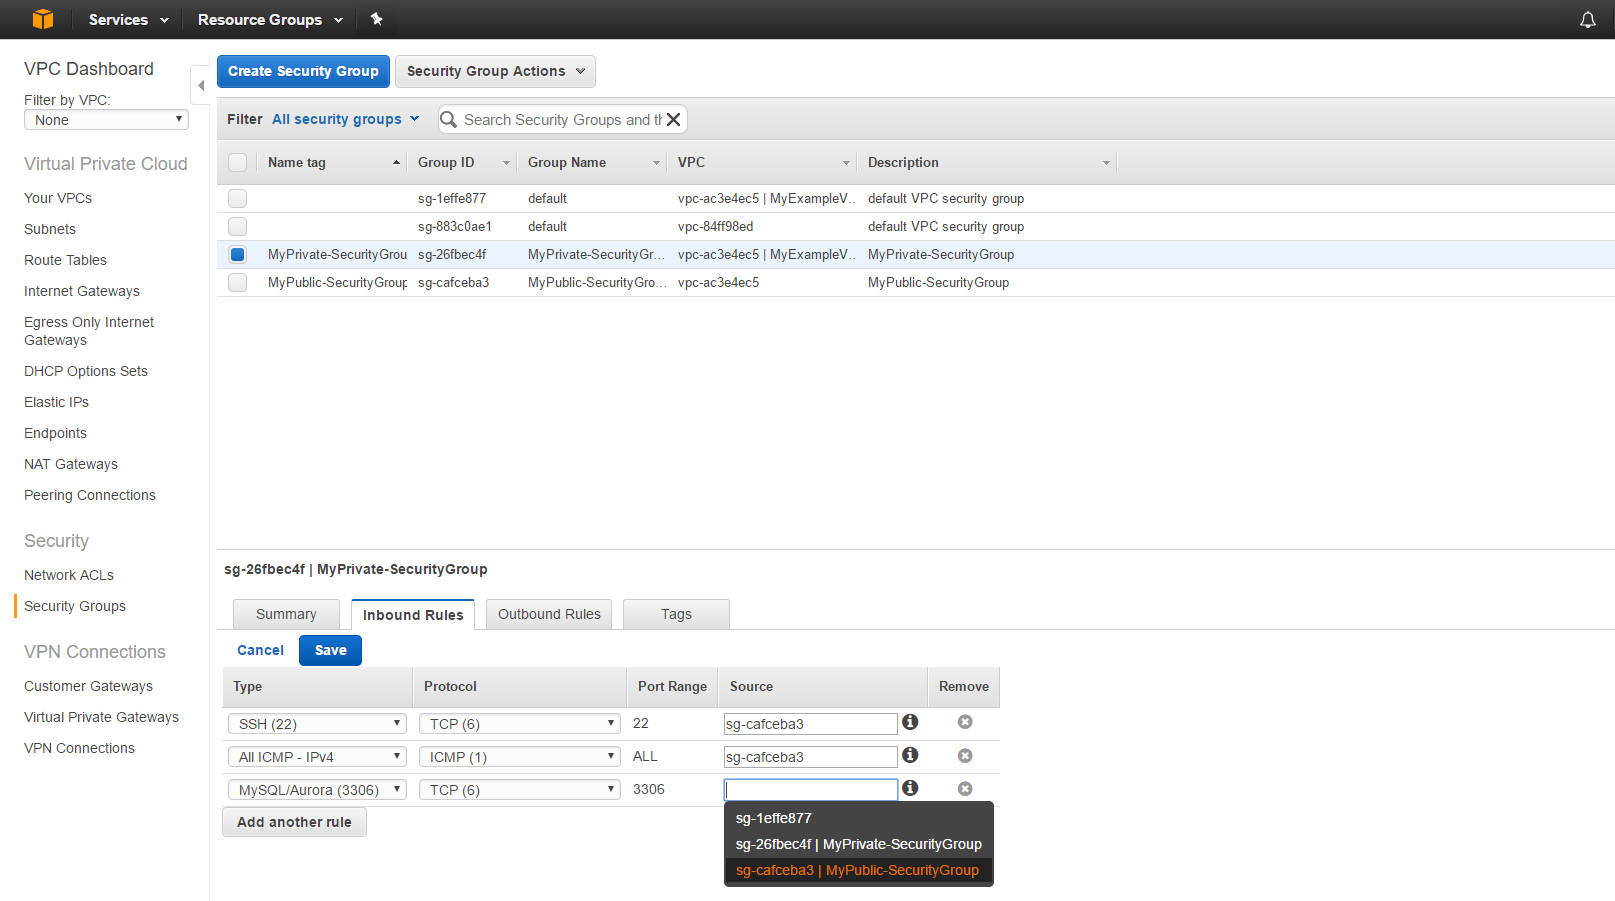
Now make sure the “MyPrivate-SecurityGroup” is selected, under Inbound Rules, click edit and enter the following rules, be sure to select the “MyPublic-SecurityGroup” as the source (as shown below) and finally click save.
That’s it! you now have a VPC in AWS, with public and private subnets and rules for them to communicate! Stay tuned for Part 2 where we deploy EC2 instances into both subnets and a NAT instance to allow the private subnet to reach the internet!
Thanks for reading!